 Save
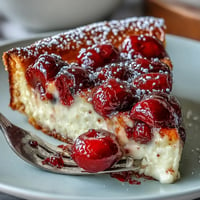
Save I discovered these protein cheesecake cups on a Tuesday morning when I was frantically searching for something that could satisfy my post-workout cravings without derailing my goals. The beauty of them hit me immediately—no oven required, ready in under three hours, and they taste like indulgence disguised as nutrition. I made my first batch out of pure desperation, and what emerged from the fridge was something I couldn't stop reaching for. Now they're my go-to when I want dessert that doesn't ask forgiveness.
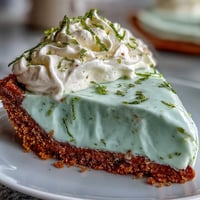
I brought a batch to my sister's house one afternoon, and watching her take that first bite—eyes widening like she expected something chalky—was everything. She asked for the recipe that same day, and now she makes them for her kids as an after-school snack. That moment made me realize these weren't just my personal fuel, they were something worth sharing.
Ingredients
- Oat flour: The foundation that holds everything together with a subtle, wholesome texture—use certified gluten-free if that matters to you.
- Almond or peanut butter: Binds the base and adds richness; make sure it's creamy so mixing is effortless.
- Honey or maple syrup: Just enough sweetness to make the base taste intentional, not medicinal.
- Salt: A tiny pinch that makes every flavor pop without announcing itself.
- Reduced-fat cream cheese: The star ingredient that needs to be soft before you touch it—cold cream cheese won't blend smoothly.
- Greek yogurt: Keeps things creamy while adding protein and a subtle tang that balances sweetness.
- Vanilla whey protein powder: Two scoops give you the protein boost without any grittiness if you blend it well.
- Honey or maple syrup: Another layer of sweetness in the filling itself, making the final texture cloud-like.
- Vanilla extract: One teaspoon is enough to carry through the whole bite without overwhelming.
- Lemon zest: Optional but genuinely transformative—it wakes up the cream cheese in unexpected ways.
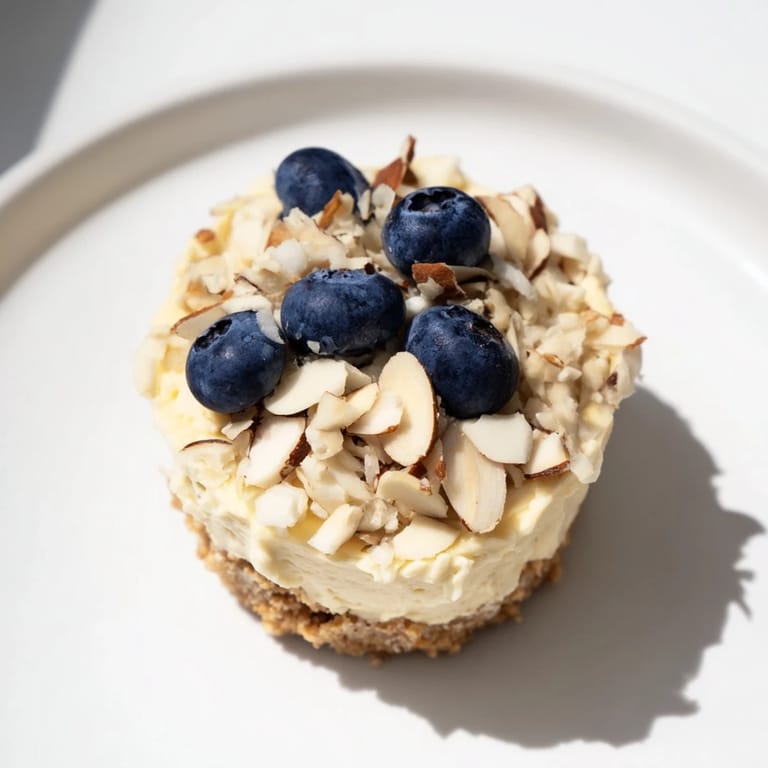
- Fresh berries, nuts, or dark chocolate: These aren't just toppings; they're the finishing touch that makes them feel special.
Tired of Takeout? 🥡
Get 10 meals you can make faster than delivery arrives. Seriously.
One email. No spam. Unsubscribe anytime.
Instructions
- Make the crunchy base:
- In a medium bowl, combine oat flour, almond butter, honey, and salt, stirring until you have something between wet sand and actual dough. You want it to hold together when pressed but still feel crumbly.
- Pack it into place:
- Distribute the mixture evenly among your muffin liners and press down firmly with the back of a spoon until you feel it compact slightly. Don't be shy—a solid base is what separates these from falling apart.
- Blend the filling:
- Beat the softened cream cheese until it's completely smooth and almost fluffy, about a minute. This step matters because lumps will haunt you in the final texture.
- Fold everything together:
- Add the Greek yogurt, protein powder, honey, vanilla, and lemon zest, mixing until the color is uniform and there are no streaks of powder visible. The filling should look creamy and professional.
- Fill and top:
- Spoon the cheesecake mixture generously over each base, smoothing the tops with a spatula so they look intentional. Then add your toppings while the filling is still soft so they stick.
- Chill and set:
- Refrigerate for at least two hours—patience here is what transforms soft filling into something that holds its shape. I usually leave them overnight because the flavors deepen, and the texture becomes almost custard-like.
 Save
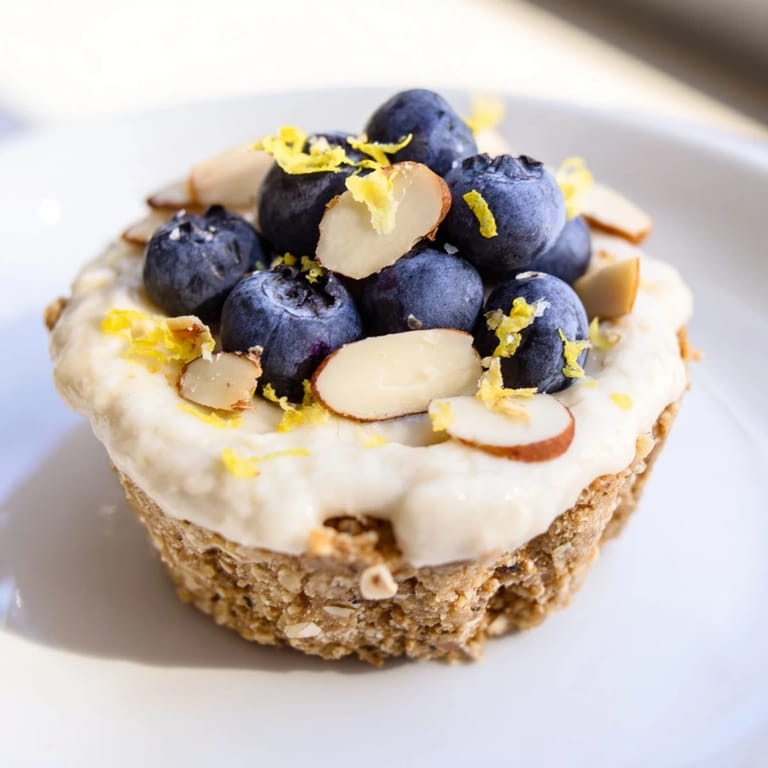
Save There's a moment when you remove these from the fridge and peel back the liner to reveal that pristine, creamy surface underneath. That's when they stopped being just a recipe and became something I genuinely looked forward to eating. They transformed from a workout hack into an actual dessert I wanted to make again and again.
Why This Works Without an Oven
No-bake desserts intimidated me for years until I realized they're not some advanced technique—they're just refrigeration doing the work your oven normally does. The cheesecake filling sets because cold cream cheese firms up, the base holds because the nut butter acts as an edible adhesive, and everything comes together in your fridge while you go about your day. It's honestly the most stress-free way to make something that tastes like you tried hard.
Customizing Your Own Versions
The first time I made these, I stuck rigidly to the recipe because I didn't trust myself to improvise. By the third batch, I was experimenting—swapping in crushed gluten-free cookies for the base, adding espresso powder to the filling, trying dark chocolate shavings instead of berries. Each variation taught me something about how flavors work together, and I realized that this recipe is actually a framework for whatever you're craving that week. The structure stays the same, but the personality changes.
Storage and Make-Ahead Magic
I've tested how long these last in my fridge out of pure necessity, and they stay fresh and creamy for a full week—longer than most desserts have a chance to survive in my house. The fact that you can make them on Sunday and have guilt-free snacks all week is part of why I keep coming back to this recipe. Plus, they freeze beautifully if you want to prep even further ahead.
- Keep them in an airtight container so the filling doesn't absorb random fridge flavors.
- Let them thaw for five minutes at room temperature if you prefer a softer, more indulgent texture.
- Make a double batch because you'll definitely want extras by day four.
 Save
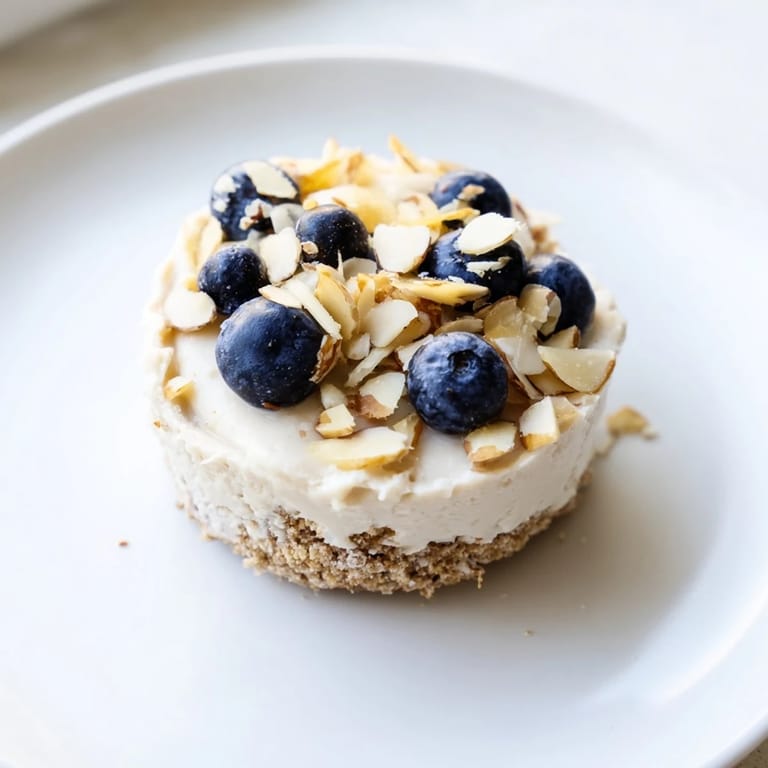
Save These cups became my answer to the question of how to eat like you care about your goals while still actually enjoying dessert. They've shown up at potlucks, in my gym bag, and on more mornings than I'd like to admit as breakfast.
Recipe FAQs
- → What flour options can I use for the base?
You can use oat flour for a wholesome base or substitute with almond flour for a gluten-free alternative.
- → How do I achieve the creamy texture in the filling?
Beat softened cream cheese until smooth before mixing in Greek yogurt, protein powder, honey, and vanilla extract to create a creamy consistency.
- → Can the cups be prepared ahead of time?
Yes, prepare the cups and chill them for at least two hours or overnight to set properly before serving.
- → Are there vegan variations for these cups?
Use dairy-free cream cheese, plant-based yogurt, and vegan protein powder to make this treat vegan-friendly.
- → What toppings complement these cheesecake cups?
Fresh berries, chopped nuts, and dark chocolate shavings enhance both flavor and texture beautifully.